
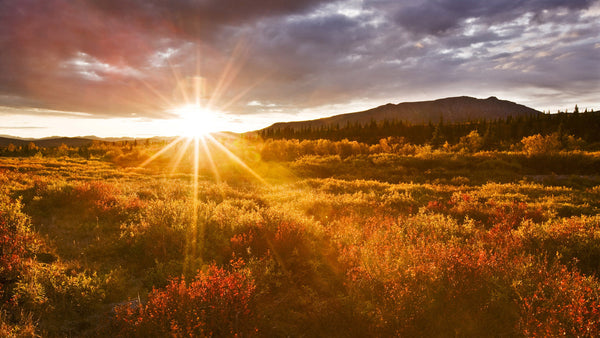
First of all you need to find the perfect location.
Google "sunset in..." or "sunrise in..." your shooting location. The Sun Surveyor app is a great little app to know exactly where the Sun and/or Moon will set or rise in augmented reality in your location - https://www.sunsurveyor.com/ (free). Another one to check out is the ever so popular https://www.photopills.com/ for Moon, Sun and Milky Way with time lapse parametres available for Apple and now Android (£10/$10). Photographer’s Ephemeris 3D looks like a very good new 3D version of the app, although currently only available on the iPhone, let's you see how the sunlight forms over landscapes in 3D without having to be there ($20).
Next you need to find the best or most convienient way to shoot the time lapse.
The following are different techniques used to achieve sunrise sunset (or Vice versa) time lapses with the varying levels of exposure.
1. Aperture Priority (AV setting)
This does cause flickering but you can use the Lens Twist method by Dustin Farrell
Or you can de-flicker in post-production with GB Time Lapse (£60)
2. Bulb Ramping (internal or external software to increase or decrease shutter speed to compensate for changes in light). Most are manual bulb ramping devices so you will have to know what exposure is required at specific times and when the light is going to change ie. what time the sunrises or sets.
3. Blending (a.k.a. cheating:)
Shoot two time lapses or more and then blend in post-production with a transition like a cross dissolve.


Comments will be approved before showing up.


.Digislider Team
Author