HDR (High Dynamic Range) Time Lapse Tutorial
Cameras at the moment just cannot capture the range of highlights and shadows you see through your own eyes. So the idea of HDR (High Dynamic Range) photography is to emulate the dynamic range of the human eye and show how it appears naturally to your eye.
What you need
Production
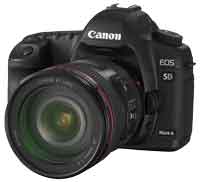
1 - DSLR (able to take multiple exposures)
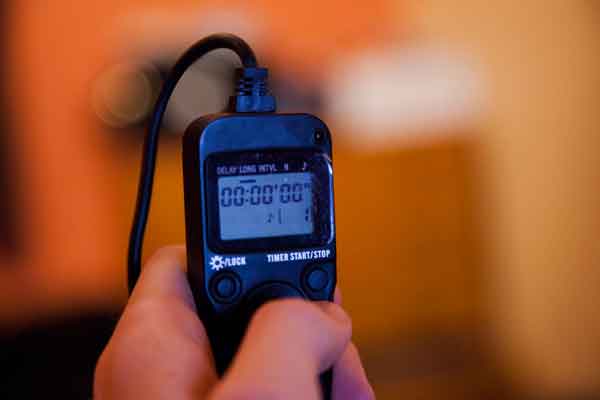
2 - Remote Timer with multiple settings - click here to buy one

Post-Production
2 - Adobe After Effects - adobe.com/products/aftereffects/
Steps
Production
1 - Set up camera
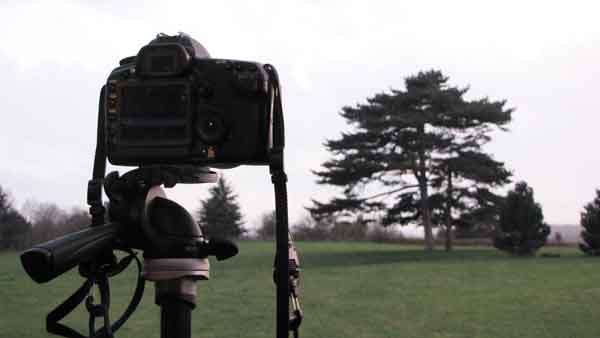
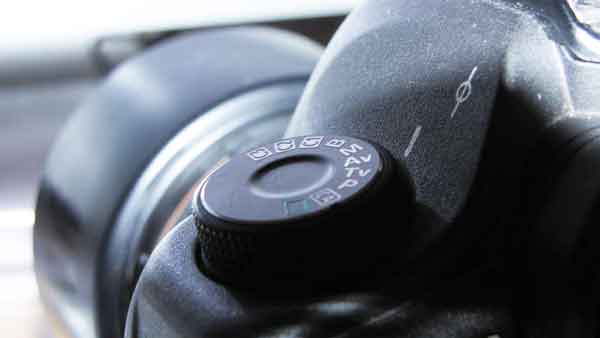
2 - Set DSLR to Manual mode (or AV if you decide to pick a place where exposure changes - but will probably get a flicker which you will probably de-flicker later)
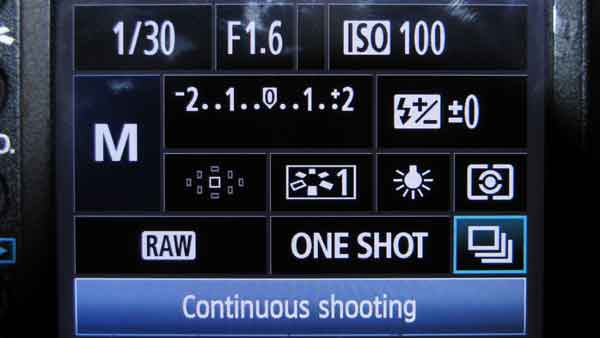
5 - Set your timer. Make sure set the longevity (how long the shutter is held down for) to as long as necessary to take continuous photos so all exposures are taken one after the other.
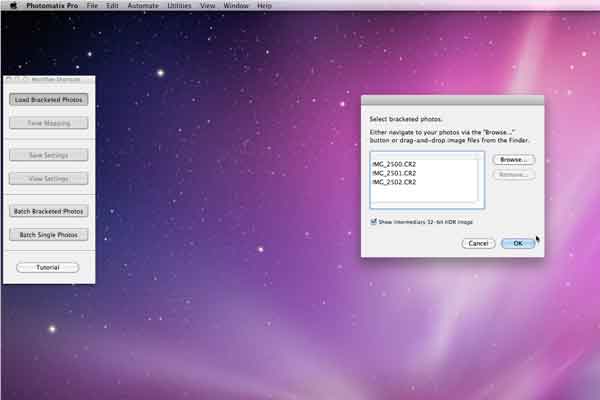
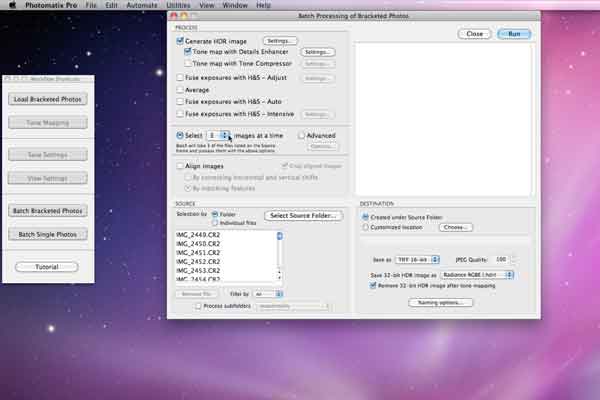
2 - Batch Bracketed Photos (select preset by clicking on "setting" next to "Tone map with Details Enhancer")
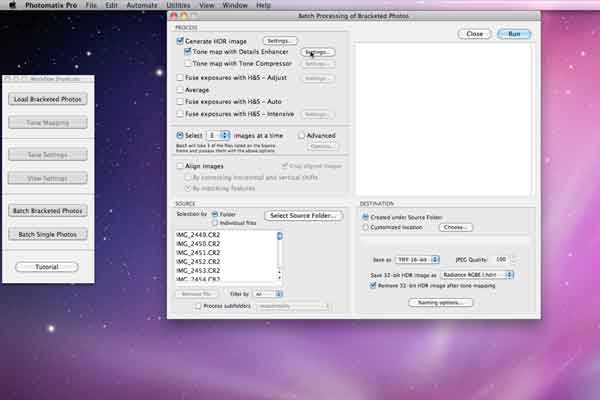
3 - select the number of images to process (equivalent to the number of different exposures you took)
4 - select source and destination folders
5 - click "run" (this can take a long time)
After Effects
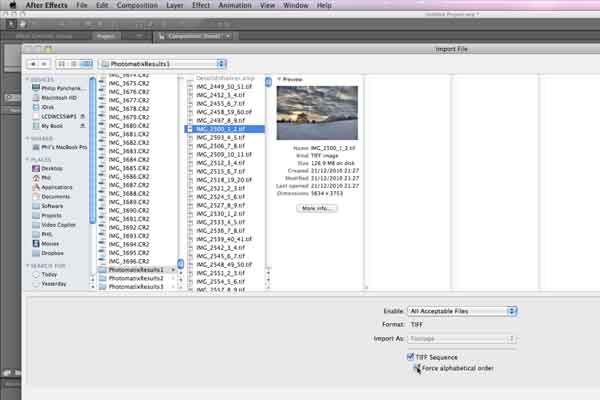
6 - Import as sequence (you will probably have to click on the "force alphabetical order" box)
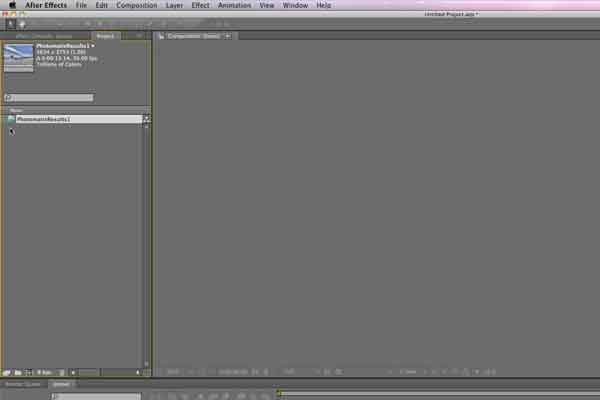
7 - Drop the sequence into a composition
8 - Render
9 - Done
For HDR using a portable slider, check out the Digislider and it's motorised upgrades - www.digislider.co.uk
We tried to keep it short and sweet, but if it is not indepth enough for you, this tutorial from Dustin Farrell may be better suited.
Leave a comment
Comments will be approved before showing up.



Digislider Team
Author